Configure Client Application Definition
The Definition tab of the Client Application Details screen displays many of the configuration options and properties available for this Client Application.
To edit the high-level properties of a Client Application:
-
Select Admin from the top navigation bar, then select Access > Client Applications from the side navigation menu. The Client Applications screen is displayed.
-
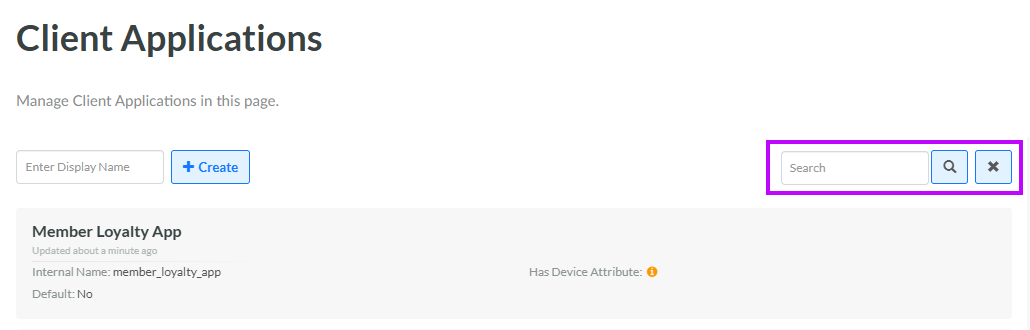
Optionally, search for the desired Client Application by entering a text string in the Search field. Click the Search icon. The platform filters the screen to show only the Client Applications that have this text string with the Client Application display name or internal name. Click the desired Client Application. The Client Application Details screen is displayed, with the Definition tab selected.
-
Click Edit (being sure to click the edit button within the desired section that you want to modify). The Edit Client Application pop-up window is displayed.
-
Enter the desired configuration options.
-
Click Save.
Device Tracking Section
The Device Tracking section of the Definition tab is used to select a Custom Object. Members who download the app onto their mobile device, and register the application with the Loyalty platform will be added to the selected Custom Object.
Has Device Attribute Section
Push Notification Messages are typically sent only to mobile devices where the Member has installed and registered your app. The platform uses a dedicated Member Attribute to track which Members have registered this Client Application on their mobile device. The Has Device Attribute section of the Definition tab is used to select this dedicated Member Attribute.
Note: A "has device" Member Attribute can be associated with only one Client Application.
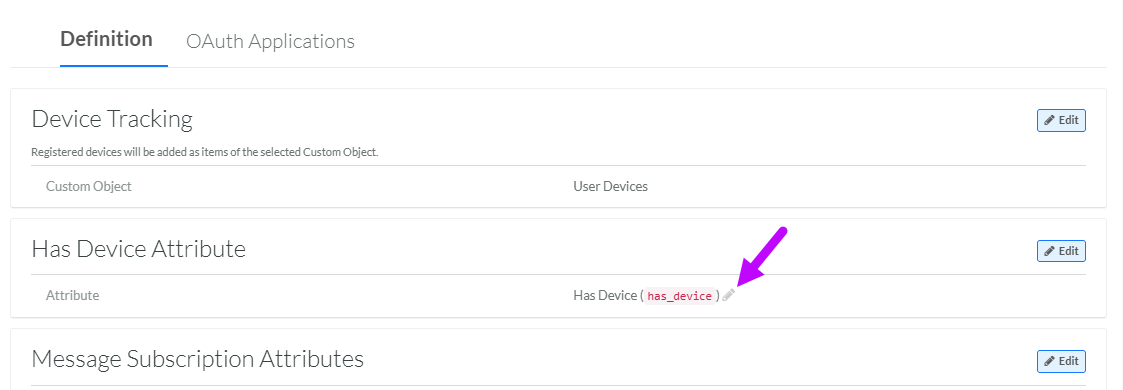
In addition to selecting this Member Attribute, you can also edit the selected Attribute directly from the Client Application Details screen. After selecting the desired Member Attribute, click the Edit icon next to the Attribute name. The Edit Member Attribute pop-up window is displayed, where you can modify the Attribute's Display Name, Internal Name, and / or Description. Click Save when finished. Note that if you edit a Member Attribute in this manner, you must deploy metadata for the changes to take effect. See Deploy Attribute Metadata for more information.
Message Subscription Attributes Section
Communication Preferences are dedicated Member Attributes used to capture and store a Member's opt-in / opt-out preferences for a messaging channel. You can designate a Member Attribute as a Communication Preference by assigning it to the Message Subscriptions Member Attribute Category (see Assign a Member Attribute to a Category for more information).
The Message Subscription Attributes section of the Definition tab is used to select the Communication Preference(s) that are available for use when configuring a Push Notification Message with this Client Application. You can select any Member Attributes that have been assigned to the Message Subscriptions Member Attribute Category, and that have not previously been assigned to another Client Application.
Note: A Communication Preference Member Attribute can be associated with only one Client Application.
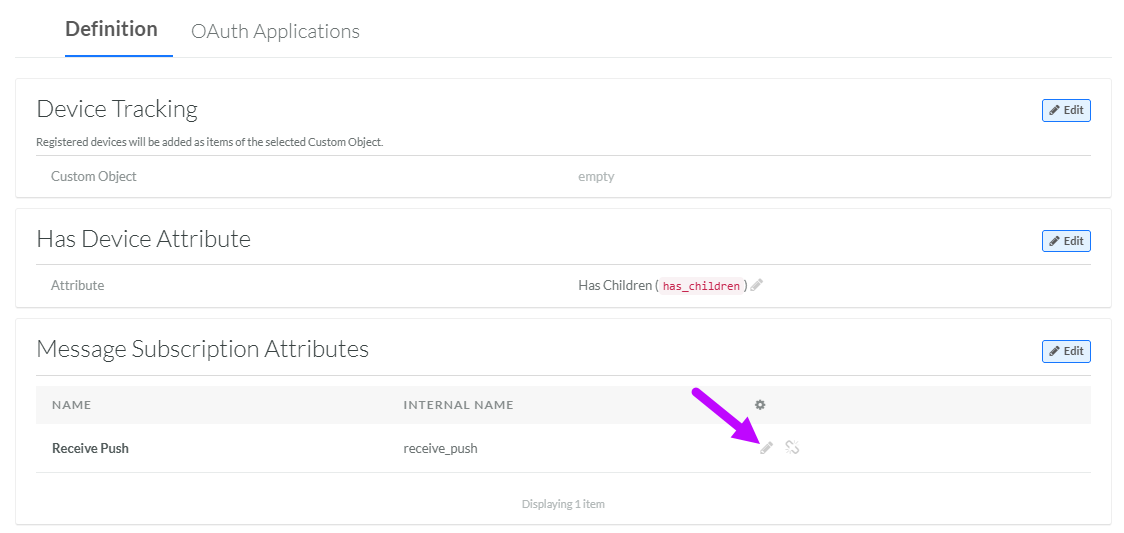
In addition to selecting the desired Communication Preference Member Attributes, you can also edit a selected Attribute directly from the Client Application Details screen. After selecting the desired Member Attribute, click the Edit icon next to the Attribute. The Edit Member Attribute pop-up window is displayed, where you can modify the Attribute's Display Name, Internal Name, and / or Description. Click Save when finished. Note that if you edit a Member Attribute in this manner, you must deploy metadata for the changes to take effect. See Deploy Attribute Metadata for more information.
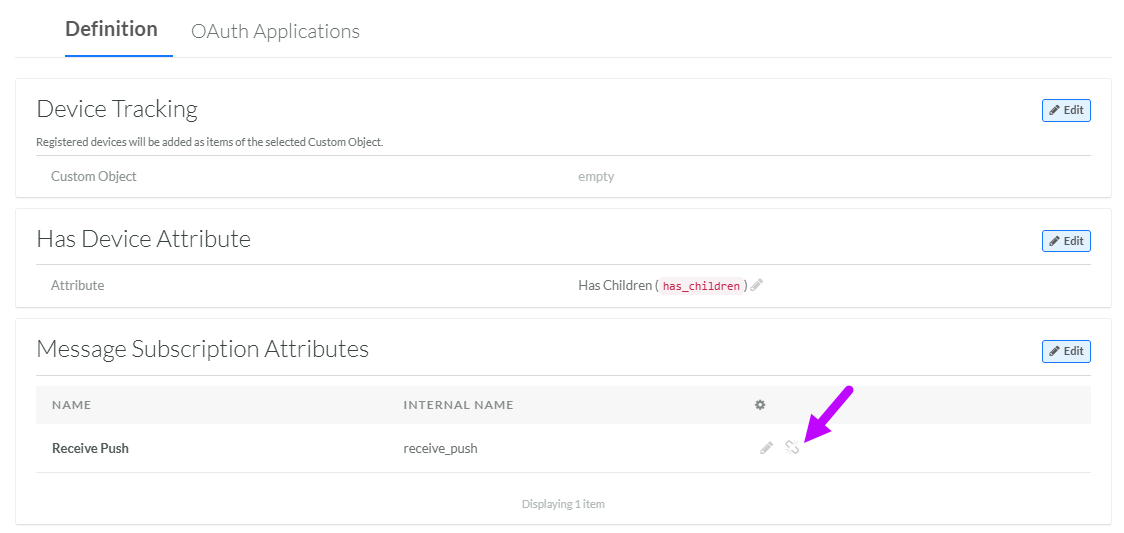
To remove a Communication Preference Member Attribute from this Client Application, click the Remove link next to the Attribute. A confirmation dialog box is displayed; click Confirm.